 First Due Tackle Pass It On – Firefighter, Rescue & Extrication Training
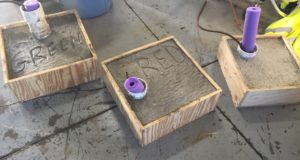
Some of you probably remember having to lift something heavy with wedges and cribbing. That isn’t the case with many of the new recruits, mainly because we show them how to use the hydraulics and pneumatics first. Then we forget to give them more options, basic options. What if the front line tools don’t work or are on another call. How are we going to lift an object off a trapped victim?
I have previously wrote about lifting options for school bus roll-over pinning and the pictures in this post will be from a recent training with the same scenario. Remember, we can use wedges, cribbing, and sledgehammers to make a successful lift when needed.
In this example we are talking about a type C school bus, which can weight up to 12 tons. We know with the position of the victim, pinned under the topside, we will not be lifting the full weight of the bus. 
With any lift:
- If you lift an inch, crib an inch.
- Keep your digits out of pinch points. Use a tool or another piece of cribbing when reaching under the object being lifted.
- Watch around yourself for swinging tools and changing situations.
For this bus, crews set up two swinging stations and two cribbing stations, one of each on either side of the victim. The firefighters at the swinging stations drove wedges under the bus as the cribbers filled the voids. As upward movement was gained, 4×4’s were inserted and more wedges on top, which were drove in.  They quickly realized that this technique works, but is also labor intensive. Teaching point: firefighters should switch regularly on the sledgehammers to ensure continuous full power. To get the victim out, a total height of 12 inches was needed.
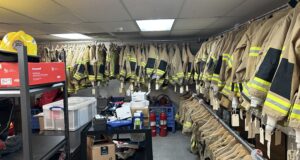
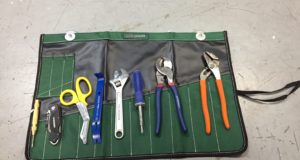
 Review your cribbing and wedge cache: 4×4’s, 6×6’s, wedges?
Think about other scenarios where this technique may be an option: industrial accident, commercial vehicle crash, and structural collapse – then practice.
Pass it on!